Quilting with panels is a fantastic way to create a stunning and unique quilt without the need for intricate piecing. Whether you're a beginner or an experienced quilter, using a fabric panel simplifies the process while still allowing for creativity. In this guide, we’ll walk you through the steps to turn a beautiful fabric panel into a cozy quilt.

Step 1: Choose Your Fabric Panel and Coordinating Fabrics
Fabric panels come in various themes, colors, and sizes. Choose one that speaks to your style and matches your intended purpose—whether it's a baby quilt, wall hanging, or lap quilt. Consider the subject matter, color palette, and size of the panel when making your selection. Panels can feature anything from scenic landscapes to whimsical children’s illustrations, making them versatile for many projects.
You can see our current fabric panel offerings HERE
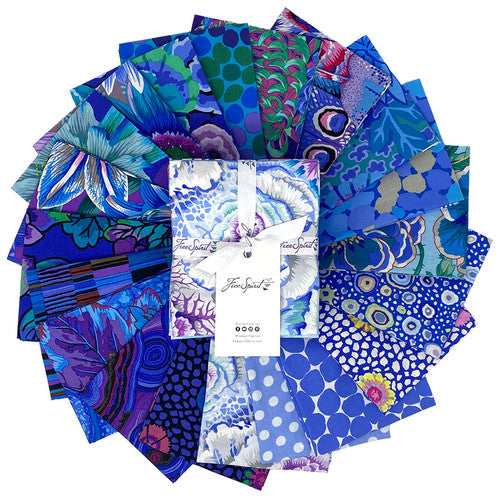
To complement your panel, select coordinating fabrics for borders, sashing, and backing. When choosing these fabrics, consider:
-
Color Coordination: Select fabrics that pull colors from the panel to create a cohesive look.
-
Pattern Mixing: Pair solids, small prints, or tone-on-tone fabrics to highlight the panel without overpowering it.
-
Fabric Quality: Use high-quality quilting cotton to ensure durability and ease of sewing.
If unsure about fabric combinations, use a color wheel or fabric bundles curated by designers to help guide your choices.
Step 2: Plan Your Quilt Layout
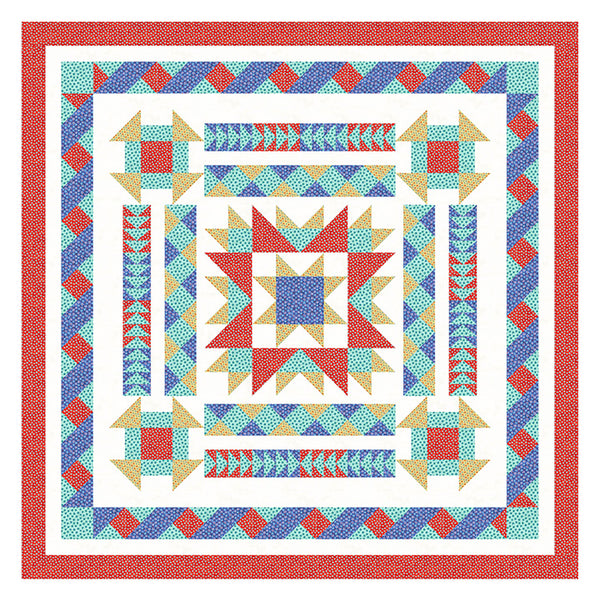
Decide how you want to frame or enhance your panel. Common layout options include:
-
Simple Border: Adding one or more borders to frame the panel, making it stand out as the focal point.
-
Sashed Blocks: Cutting the panel into sections and adding sashing in between to create a more intricate design.
-
Pieced Borders: Incorporating traditional quilt blocks around the panel to extend the design and add visual interest.
-
Offset Panel Layout: Placing the panel off-center and surrounding it with asymmetrical borders or blocks for a modern look.
Consider the finished size of your quilt and how the panel will fit within that space. Sketching your layout on graph paper or using quilting software can help you visualize the final look before cutting into your fabrics. If using multiple panels in one quilt, plan how they will interact with each other and the surrounding fabric.
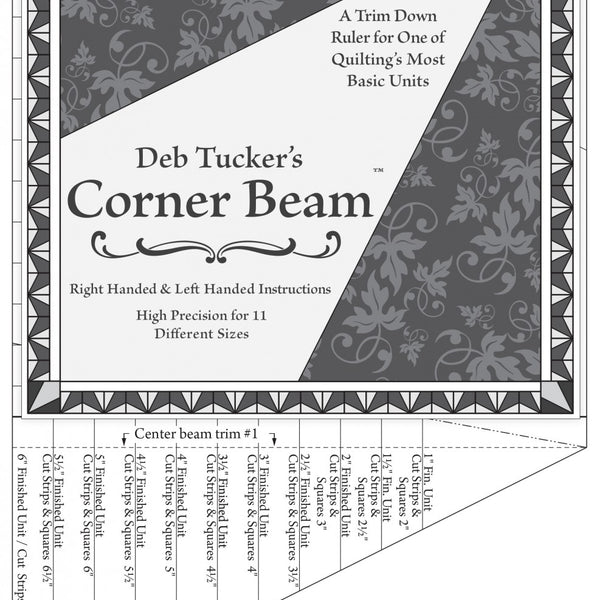
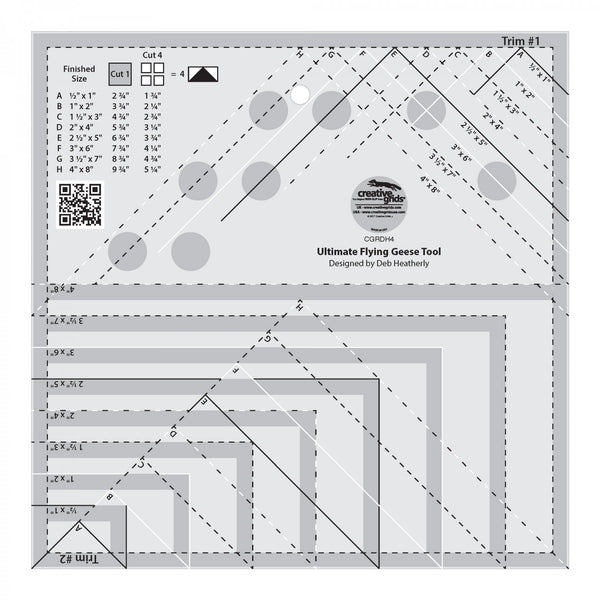
Step 3: Prepare and Cut the Fabrics
Press all fabrics before cutting to ensure accuracy. Use a rotary cutter and ruler to cut the panel to size and prepare your border and sashing pieces. If your panel has extra white space or uneven edges, trim accordingly.
Step 4: Sew the Quilt Top
Start by adding sashing (if included in your design) and then sew on the borders. Always measure before cutting to ensure precise fits. Use a 1/4-inch seam allowance for all stitching, pressing seams open or to one side as you go.
Step 5: Assemble the Quilt Sandwich
Once your quilt top is complete, layer it with batting and backing fabric. Use quilting spray adhesive, pins, or basting stitches to keep the layers together and prevent shifting during quilting.
Step 6: Quilt Your Panel Quilt
Quilting enhances the design and secures the layers. Depending on your preference and skill level, you can:
-
Stitch in the Ditch: Quilting along the seam lines for a subtle effect.
-
Free Motion Quilting: Adding decorative swirls, loops, or motifs.
-
Straight Line Quilting: Using a walking foot for evenly spaced lines.
Step 7: Bind the Quilt
Finish your quilt by adding a binding to the edges. Cut fabric strips, fold them in half lengthwise, and sew them to the quilt’s edge using a 1/4-inch seam. Fold over and stitch down to secure the raw edges.
Step 8: Enjoy Your Handmade Quilt
Your quilt is now ready to be used, displayed, or gifted! Quilting with panels allows for quick yet beautiful results, making it a great project for all skill levels.
Looking for high-quality fabric panels and coordinating fabrics? Browse our selection at Let's Make It! and get started on your next quilting masterpiece!